Search This Blog

Note to Readers

The majority of the text on this blog is written by Hikaru, a ball jointed doll. Try not to question it. The text written in pink font is commentary from Hikaru's human friend, Anna. Basically Hikaru does most of the writing and Anna keeps her from getting too out of hand.

Featured Post

Early Christmas Presents

Friday, March 31, 2017

Of Bjd Fashion: Felt Coats for Dolls

This post may contain affiliate links, please check out my disclosures page for more info.  Thanks!

Anna finally finished a doll clothing project she had been planning for several months.  Making some winter coats.  And yes, we know it is March, well beyond the winter coat season.

Her reasoning is that it is still chilly in the evenings enough to need a coat and several of us ball jointed dolls were lacking.

Cute little coats for ball jointed dolls made from craft felt.

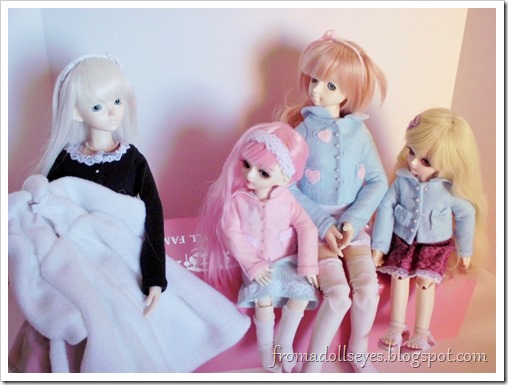
First is these two adorable little coats made for our yosd dolls, Yuna and Sakura.  How precious.

Both are made from felt of all materials and made using the same pattern.

Cute little coats for ball jointed dolls made from craft felt.

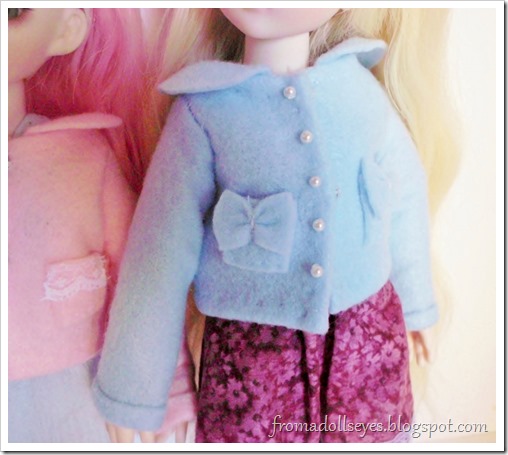
Sakura’s coat is made from blue felt and accented with pearl “buttons” and simple bows.  Sakura has developed a fondness for bows and wishes them to be added to all her clothing.

Cute little coats for ball jointed dolls made from craft felt.

Yuna’s coat has the same pearls and has a bit of lovely lace at each of the pockets.  Her coat is made in a sweet shade of pink which looks wonderful on her.

Cute little coats for ball jointed dolls made from craft felt.

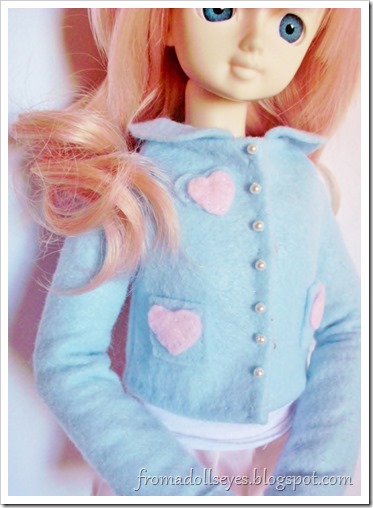
Usagi received a new coat too, also in blue felt.

Cute little coats for ball jointed dolls made from craft felt.

It is lovingly embellished with heart appliques.  I’m sure Usagi is greatly pleased by this.

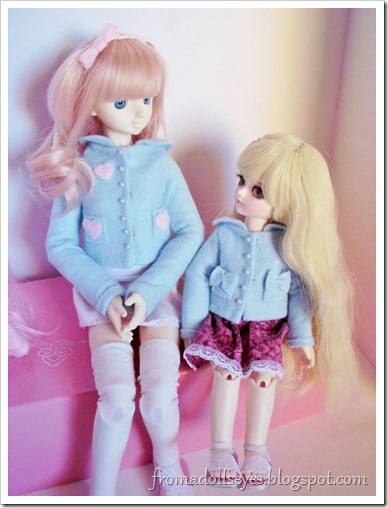
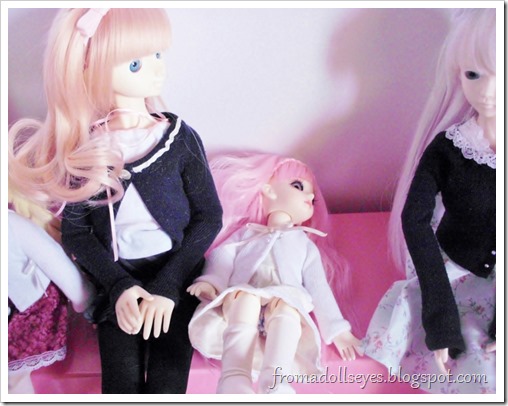
Sakura seems pleased by the color choices.

Cute little coats for ball jointed dolls made from craft felt.

“Look we match!  Can we wear these every day?”

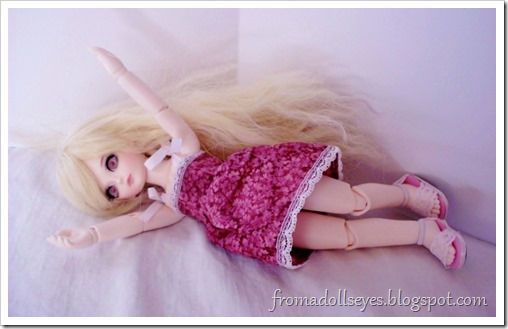
It would seem Yuna loves the color of her new coat for a different reason.

Cute little coats for ball jointed dolls made from craft felt.

“It is the same color as my hair.  Ooooh.”

Cute little coats for ball jointed dolls made from craft felt.

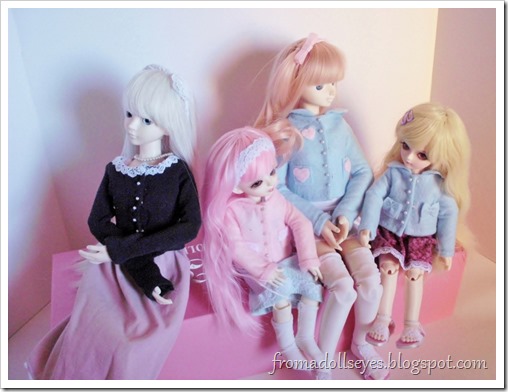
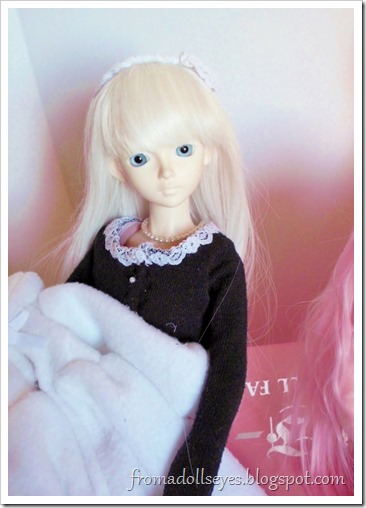
It’s nice to see someone is enjoying themselves.  Humph!  Anna chose not to make an adorable new coat for me.

"You don't need a new coat!"

Because you already have one, or have you forgotten about this dress coat I made you for Christmas (see Early Christmas Presents)?

Cute little coats for ball jointed dolls made from craft felt.

I didn’t forget, I just thought that perhaps I would receive a new more improved coat.  After making so many others, it would be a simple matter to whip up an extra one after all.

No, if you want a new coat you will just have to wait until next winter.

Winter coats in March?

Sigh.  I suppose I shall have to wait, but I am expecting a truly gorgeous coat.  After all, Anna does have eight months to design it.  I am looking forward to it.


Give it a try:

Read More »

Wednesday, March 29, 2017

Wordless Wednesday: “Can I Keep Her?”


Two yosd ball jointed dolls being cute.

Read More »

Wednesday, March 22, 2017

Wordless Wednesday: Chillin’ with a Head


Two yosd ball jointed dolls sitting with a head.

Two yosd ball jointed dolls sitting with a head.

Read More »

Sunday, March 19, 2017

Of Bjd Fashion: Yuna’s First Outfit with Tutorial

This post may contain affiliate links, please check out my disclosures page for more info.  Thanks!

After much delay, Anna has finally sewn an adorable little dress for our newest ball jointed doll, Yuna.
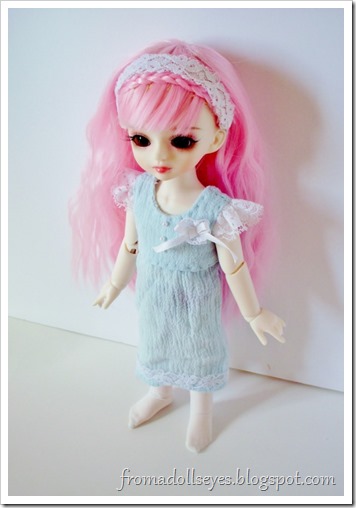
A cute blue doll dress with lace ruffles for a yosd ball jointed doll.  Free pattern and tutorial!

A simple and pretty yosd sized dress, it suits Yuna quite well.

As a service to my lovely readers, I have insisted that Anna provide a printable pattern for this dress as well as detailed instructions for its construction.

Let the tutorial begin.

Yosd Bjd Sleeveless Dress Tutorial

Materials needed:

  • Fabric
  • Snaps or Velcro
  • Pins
  • Scissors
  • Needle and thread
  • Lace and other trims of your choice.
  • Pattern (download below)
  • Iron (optional)
  • Patience (optional, but helpful)

Yosd Bjd Dress Pattern

Here’s the pattern for the dress.  It was designed to fit Yuna loosely, so please check out her measurements to ensure a good fit for your dolls.

If you are a bit of a beginner at sewing, please check out our Fitted Doll Dresses tutorial.  It is a video tutorial that demonstrates most of the techniques needed to make this dress.

Now let’s get started.

Cute yosd ball jointed doll dress tutorial.

First you need to cut out all your fabric pieces.

As mentioned on the pattern, you will need to cut out the bodice pieces from your fabric and a lining fabric.  I chose to use the same fabric for the lining.

Cute yosd ball jointed doll dress tutorial.

Now you need to pin the front bodice to the back pieces at the shoulders with the right sides together.  Then just sew them.  Repeat this with your lining.

Cute yosd ball jointed doll dress tutorial.

After sewing, press out the seams with an iron. 

You can also press it out by rubbing it with the back of a spoon or your finger.  This trick only works well on small pieces like doll clothes, especially when made with cottony fabrics.

Now for the lace ruffles, which are totally optional.  You first need to cut a strip of lace about twice as long as you want it. 

Gathering lace for a doll dress.

Sew a running stitch along the edge of the lace as shown, then pull to gather it to the desired length.

(That’s my favorite lace!  Why did you use it for this dress instead of one for me!)

(You say that about all the lace I use for your clothes.)

Cute yosd ball jointed doll dress tutorial.

Carefully pin it along the arm area and sew it in place.
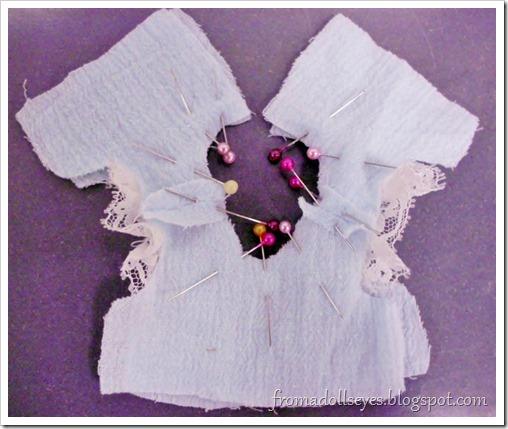
Cute yosd ball jointed doll dress tutorial.

Continuing on, place the bodice and lining right sides together and pin around the neckline.  Make sure the lace ruffles aren’t in the way.

Cute yosd ball jointed doll dress tutorial.

After sewing the neckline, pin and sew at the arm area too.  Make sure that the lace ruffles are smooth while you pin.

Cute yosd ball jointed doll dress tutorial.

This part may be a little tricky.  Starting at the back pieces, you want to turn the whole thing right side out.  The hard part will be the shoulders.  Once done, press it out.
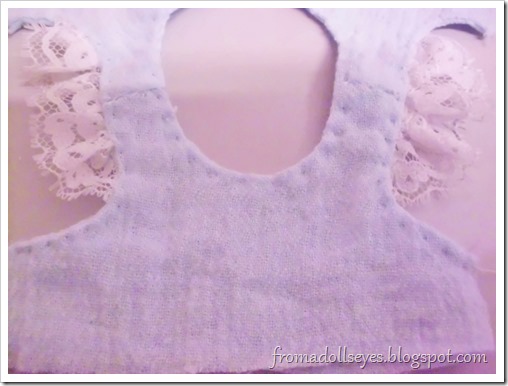
Cute yosd ball jointed doll dress tutorial.

If you want, you can sew along edges (a.k.a. top stitch) to make it look nicer and help it stay flat.

(Why are the photo backgrounds changing?)

(Because I took some of these photos at work in the break room.  The great thing about sewing doll clothes is that I can pack my stuff and work on them anywhere.)

(If you can work anywhere and anytime, would you mind explaining why it takes so long for you to complete any of my clothing?)
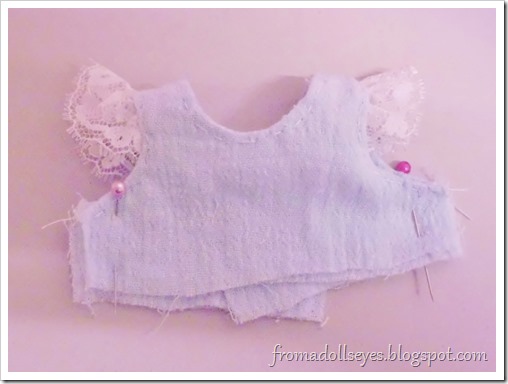
Cute yosd ball jointed doll dress tutorial.

Now to pin the sides of the bodice.  Check the fit on your doll and then sew.  Press out the seams.

Cute yosd ball jointed doll dress tutorial.

Before the next steps, it helps to trim a little from the lining along the edge.  This will reduce some of the bulk.

Cute yosd ball jointed doll dress tutorial.

The bodice is finish!  Now to start on the skirt.

Cute yosd ball jointed doll dress tutorial.

First to pin and sew the hem of the skirt.  You can add some lace to the hem if you wish.  I chose to add the lace to the front of the skirt instead.

Cute yosd ball jointed doll dress tutorial.

Now gather the top of the skirt to fit the bodice.

Cute yosd ball jointed doll dress tutorial.

With right sides together, pin the skirt to the bodice.  Make sure the gathers are nice and even before sewing.

Cute yosd ball jointed doll dress tutorial.

Press it flat and topstitch again if you wish.

Cute yosd ball jointed doll dress tutorial.

Now at the back of the dress, start pinning from the top to a little past the top of the skirt.  I use my thumb as a guide.  Sew and repeat.

Cute yosd ball jointed doll dress tutorial.

Now to pin the back of the dress together to sew the final seam.  After that there is one final thing to do.

Cute yosd ball jointed doll dress tutorial.

Sew on snaps!  Or Velcro if you wish.  Try the dress on the your doll to see where to place the snaps.
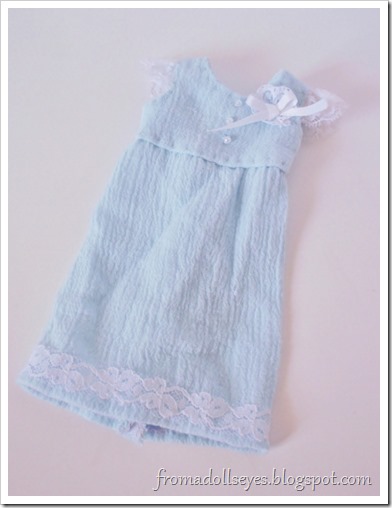
A cute blue doll dress with lace ruffles for a yosd ball jointed doll.  Free pattern and tutorial!

Now the dress is done and ready to decorate.  I added pearl “buttons” and a tiny lace rosette with a ribbon bow. 


Now that the tutorial is complete, let us discuss this darling outfit further.
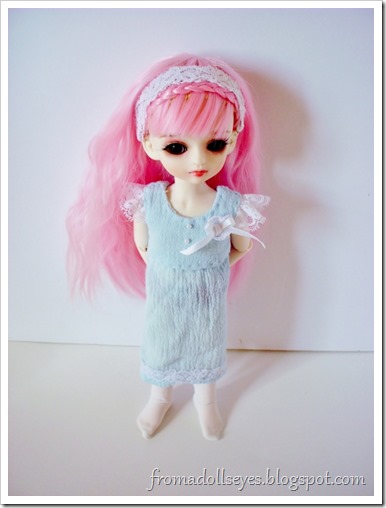
A cute blue doll dress with lace ruffles for a yosd ball jointed doll.  Free pattern and tutorial!

In addition to the dress, Anna made some accessories.  First is the pretty hair piece Yuna is wearing.

Lace and elastic head band for a doll.

It is a simple headband made from two pieces of lace and a bit of elastic.

Pretty lace headband for a bjd.

It adds a beautiful touch to her hair.
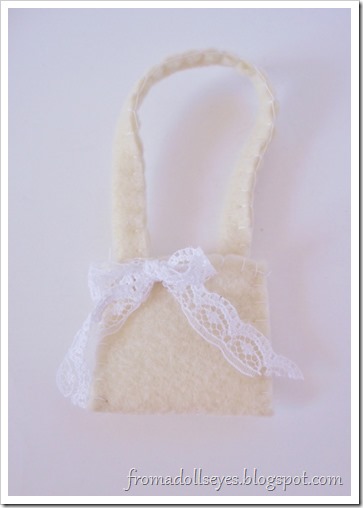
Cute felt bag for a doll.

Anna also made this felt bag.  It was made using the same methods from a previous tutorial (see Of Bjd Fashion: Felt Doll-Sized Purses).

It is a versatile color and it is nice accented with a lace bow.
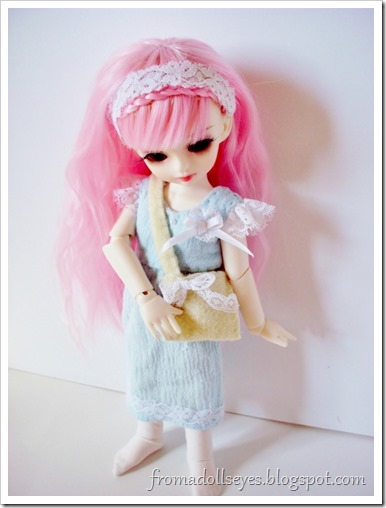
A cute blue doll dress with lace ruffles for a yosd ball jointed doll.  Free pattern and tutorial!

It adds the finishing touch to such an endearing outfit. 

And now Yuna doesn’t need to borrow clothing from Sakura any longer.  What does Sakura think of Yuna’s new outfit?

"Oh you look so cute!"

“Yay!  You look so cute!  That dress is so pretty.  The headband is so pretty.  Do you think it’s pretty?  Do you like it?  Yes?”

…..

“Me too!”

A cute blue doll dress with lace ruffles for a yosd ball jointed doll.  Free pattern and tutorial!

“Wow, what a neat bag.  Do you think it will hold a lot of stuff?  I want one too, do you think Anna will make me one?  Maybe in pink?”

It would appear that Anna needs to start sewing again.  Hopefully her next sewing project will be completed in a more timely manner.

For now, we are at peace.

Read More »

Wednesday, March 15, 2017

Wordless Wednesday: Playing Catch


Two cute ball jointed dolls playing catch with a head.

Read More »

Wednesday, March 1, 2017

Doll Owner’s Corner: Behind the Scenes Round 5

The beginning of the month, time for another doll owner’s corner.  When I, the doll owner, talk about anything I want.

This month’s topic:

Doll Bloopers!

That’s right, another round of behind the scenes photos (check here for the last batch).  This set of photos has a special theme, falling.

You see the problem with trying to get dolls to pose for nice photos is that they have a tendency to fall over just before you take the shot  This is true even for ball jointed dolls, who are known for their great poseability.

First up, there was this lovely post where Sakura shows us she can do a hand stand.  Here’s what happened after…

Ball jointed doll falling over and other bloopers.

…down…

Ball jointed doll falling over and other bloopers.

…down she goes.

Ball jointed doll falling over and other bloopers.

Here’s Yuna after her unboxing (see Doll Love Unboxing Part 2: Reviewing a Wig and Eyes).  She was just trying to sit still.

Ball jointed doll falling over and other bloopers.

And again after getting her wig restyled (see Of Bjd Hair: Some Grooming Tools and Doll Wig Makeovers).  Still only sitting on a box.

Ball jointed doll falling over and other bloopers.

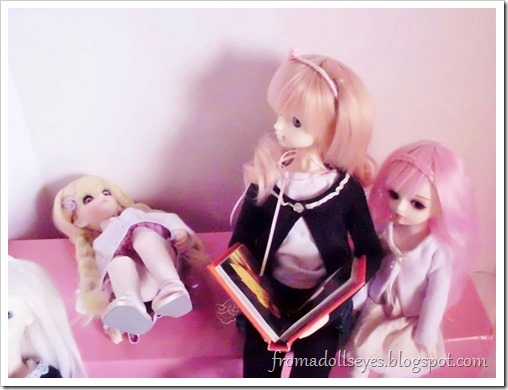
Here is Sakura fall over during a story (see Wordless Wednesday: Story Time).  No, the book isn’t that boring.

Ball jointed dolls falling all over the place.

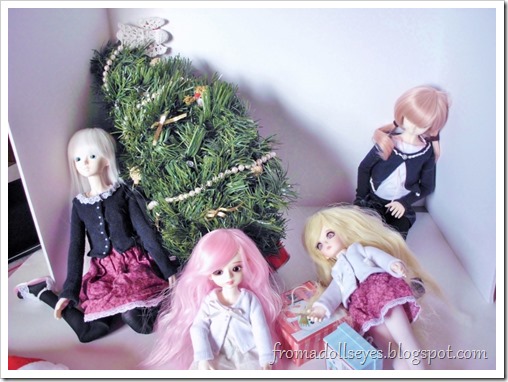
Here’s the ultimate fall from last Christmas (see Merry Christmas from the Dolls).  Sakura fell over which not only knocked over the presents and Usagi a little, but caused the whole Christmas tree to fall over knocking Hikaru and the background.

Ball jointed dolls falling all over the place.

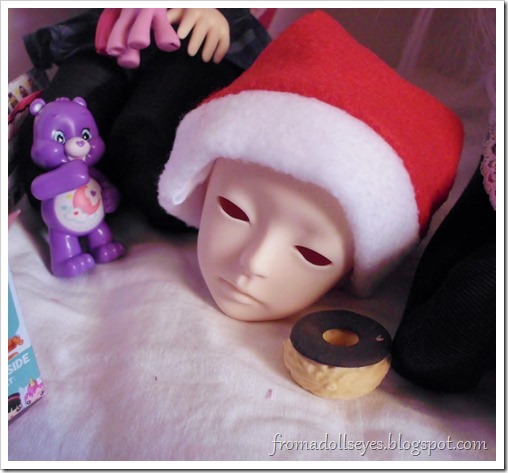
Our friend the head was completely untouched, but seemed a little shaken up.

That’s just a small sampling of the many falls of the doll world.  Look forward to more falls, disasters and other blooper shots in the future.

Read More »

Wordless Wednesday: Bubble Wrap


Ball jointed dolls playing with bubble wrap.

Read More »